What is Salt Brine and why is it better than Rock Salt?
Let’s start with Rock Salt, also referred to as Road Salt, which is made up of Sodium Chloride, just like your table salt but not as refined. Before rock salt can start melting ice, it needs to absorb moisture from the air or snow around it to form a brine. This can take some time, particularly with dry winter air. Instead, we can jumpstart the process by starting with brine.
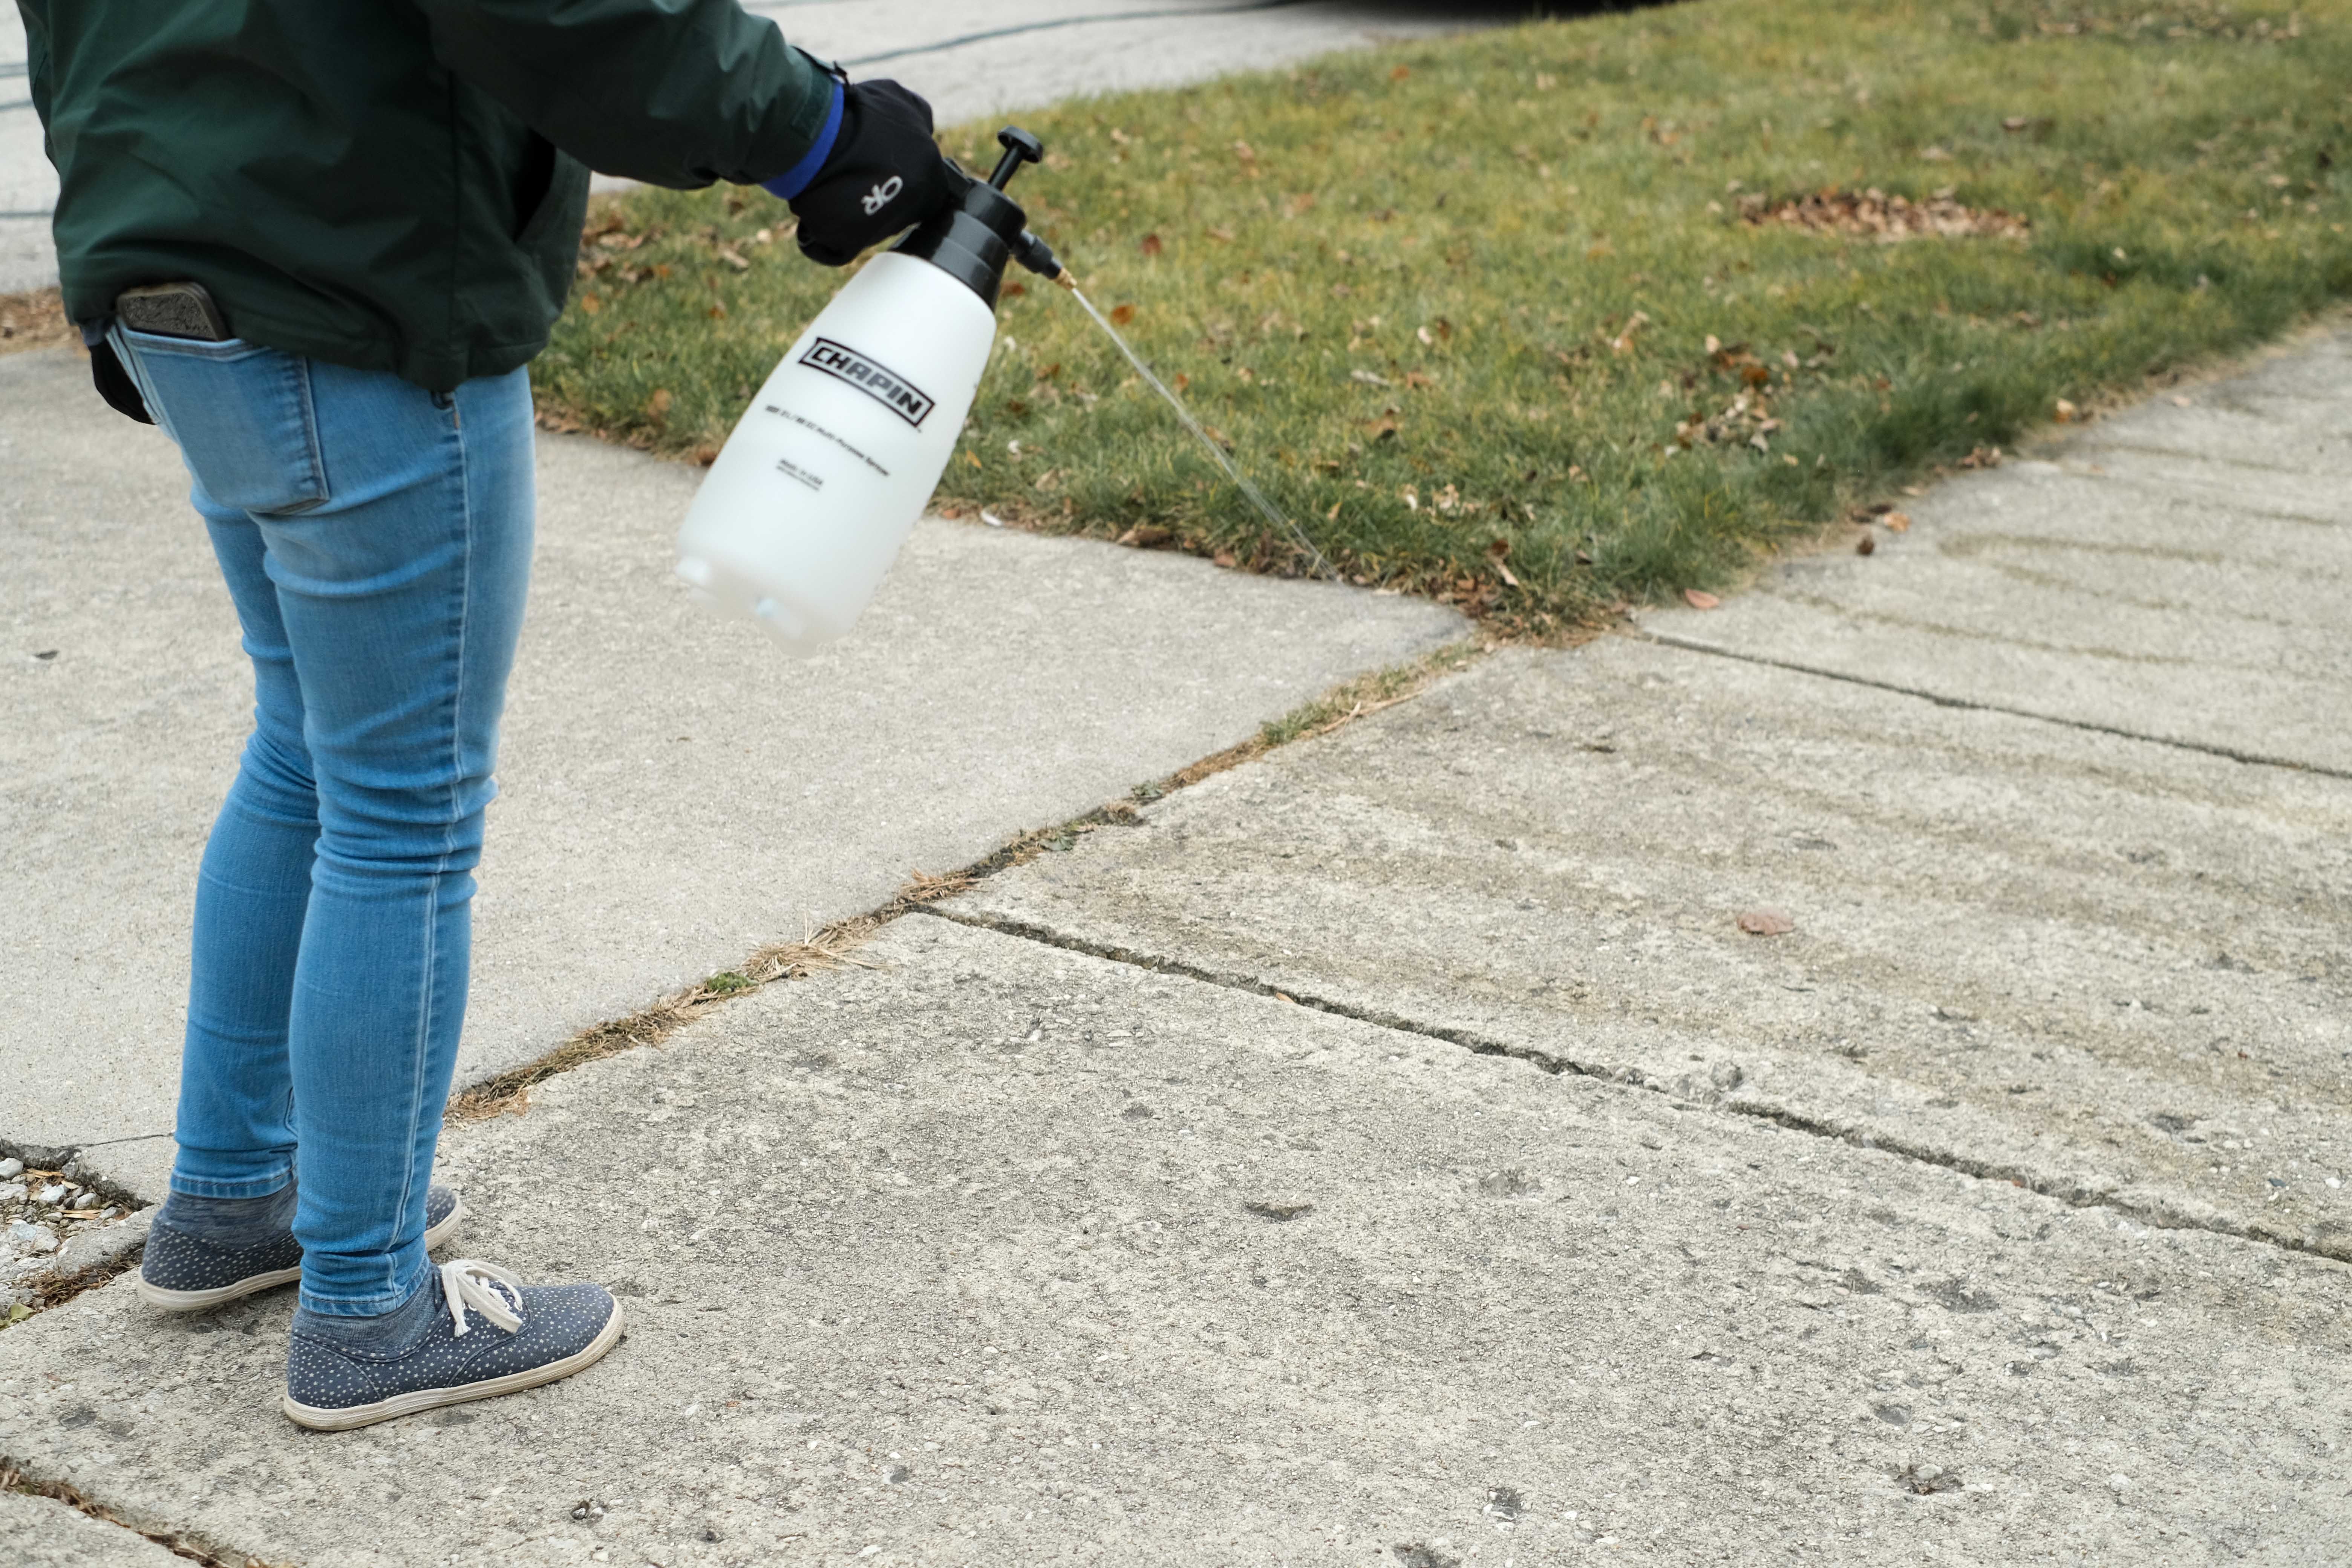
Brine is simply a mixture of rock salt and water. Because of the water content, brine starts working right away to melt snow and ice. Brine can also be used before it snows—a method called anti-icing. When applied to dry road, driveway, or sidewalk ahead of a snow storm, brine sticks to the pavement and helps stop snow from binding to the pavement. This makes it easier to plow or shovel snow. The brine can even melt off a light dusting of snow up to 1” with no or little shoveling needed.
Using brine at home allows us to be proactive with our winter storm management. As long as it is not going to rain before it snows, you can apply a brine mixture to your walkways and driveway 24-48 hours before it snows. Because brine is only 23% rock salt, we are able to reduce the amount of salt needed to cover the same amount of area than if we use rock salt alone. Brine is a win-win – safe surfaces that are easier to shovel and less salt impacting our environment.
How To Make Brine
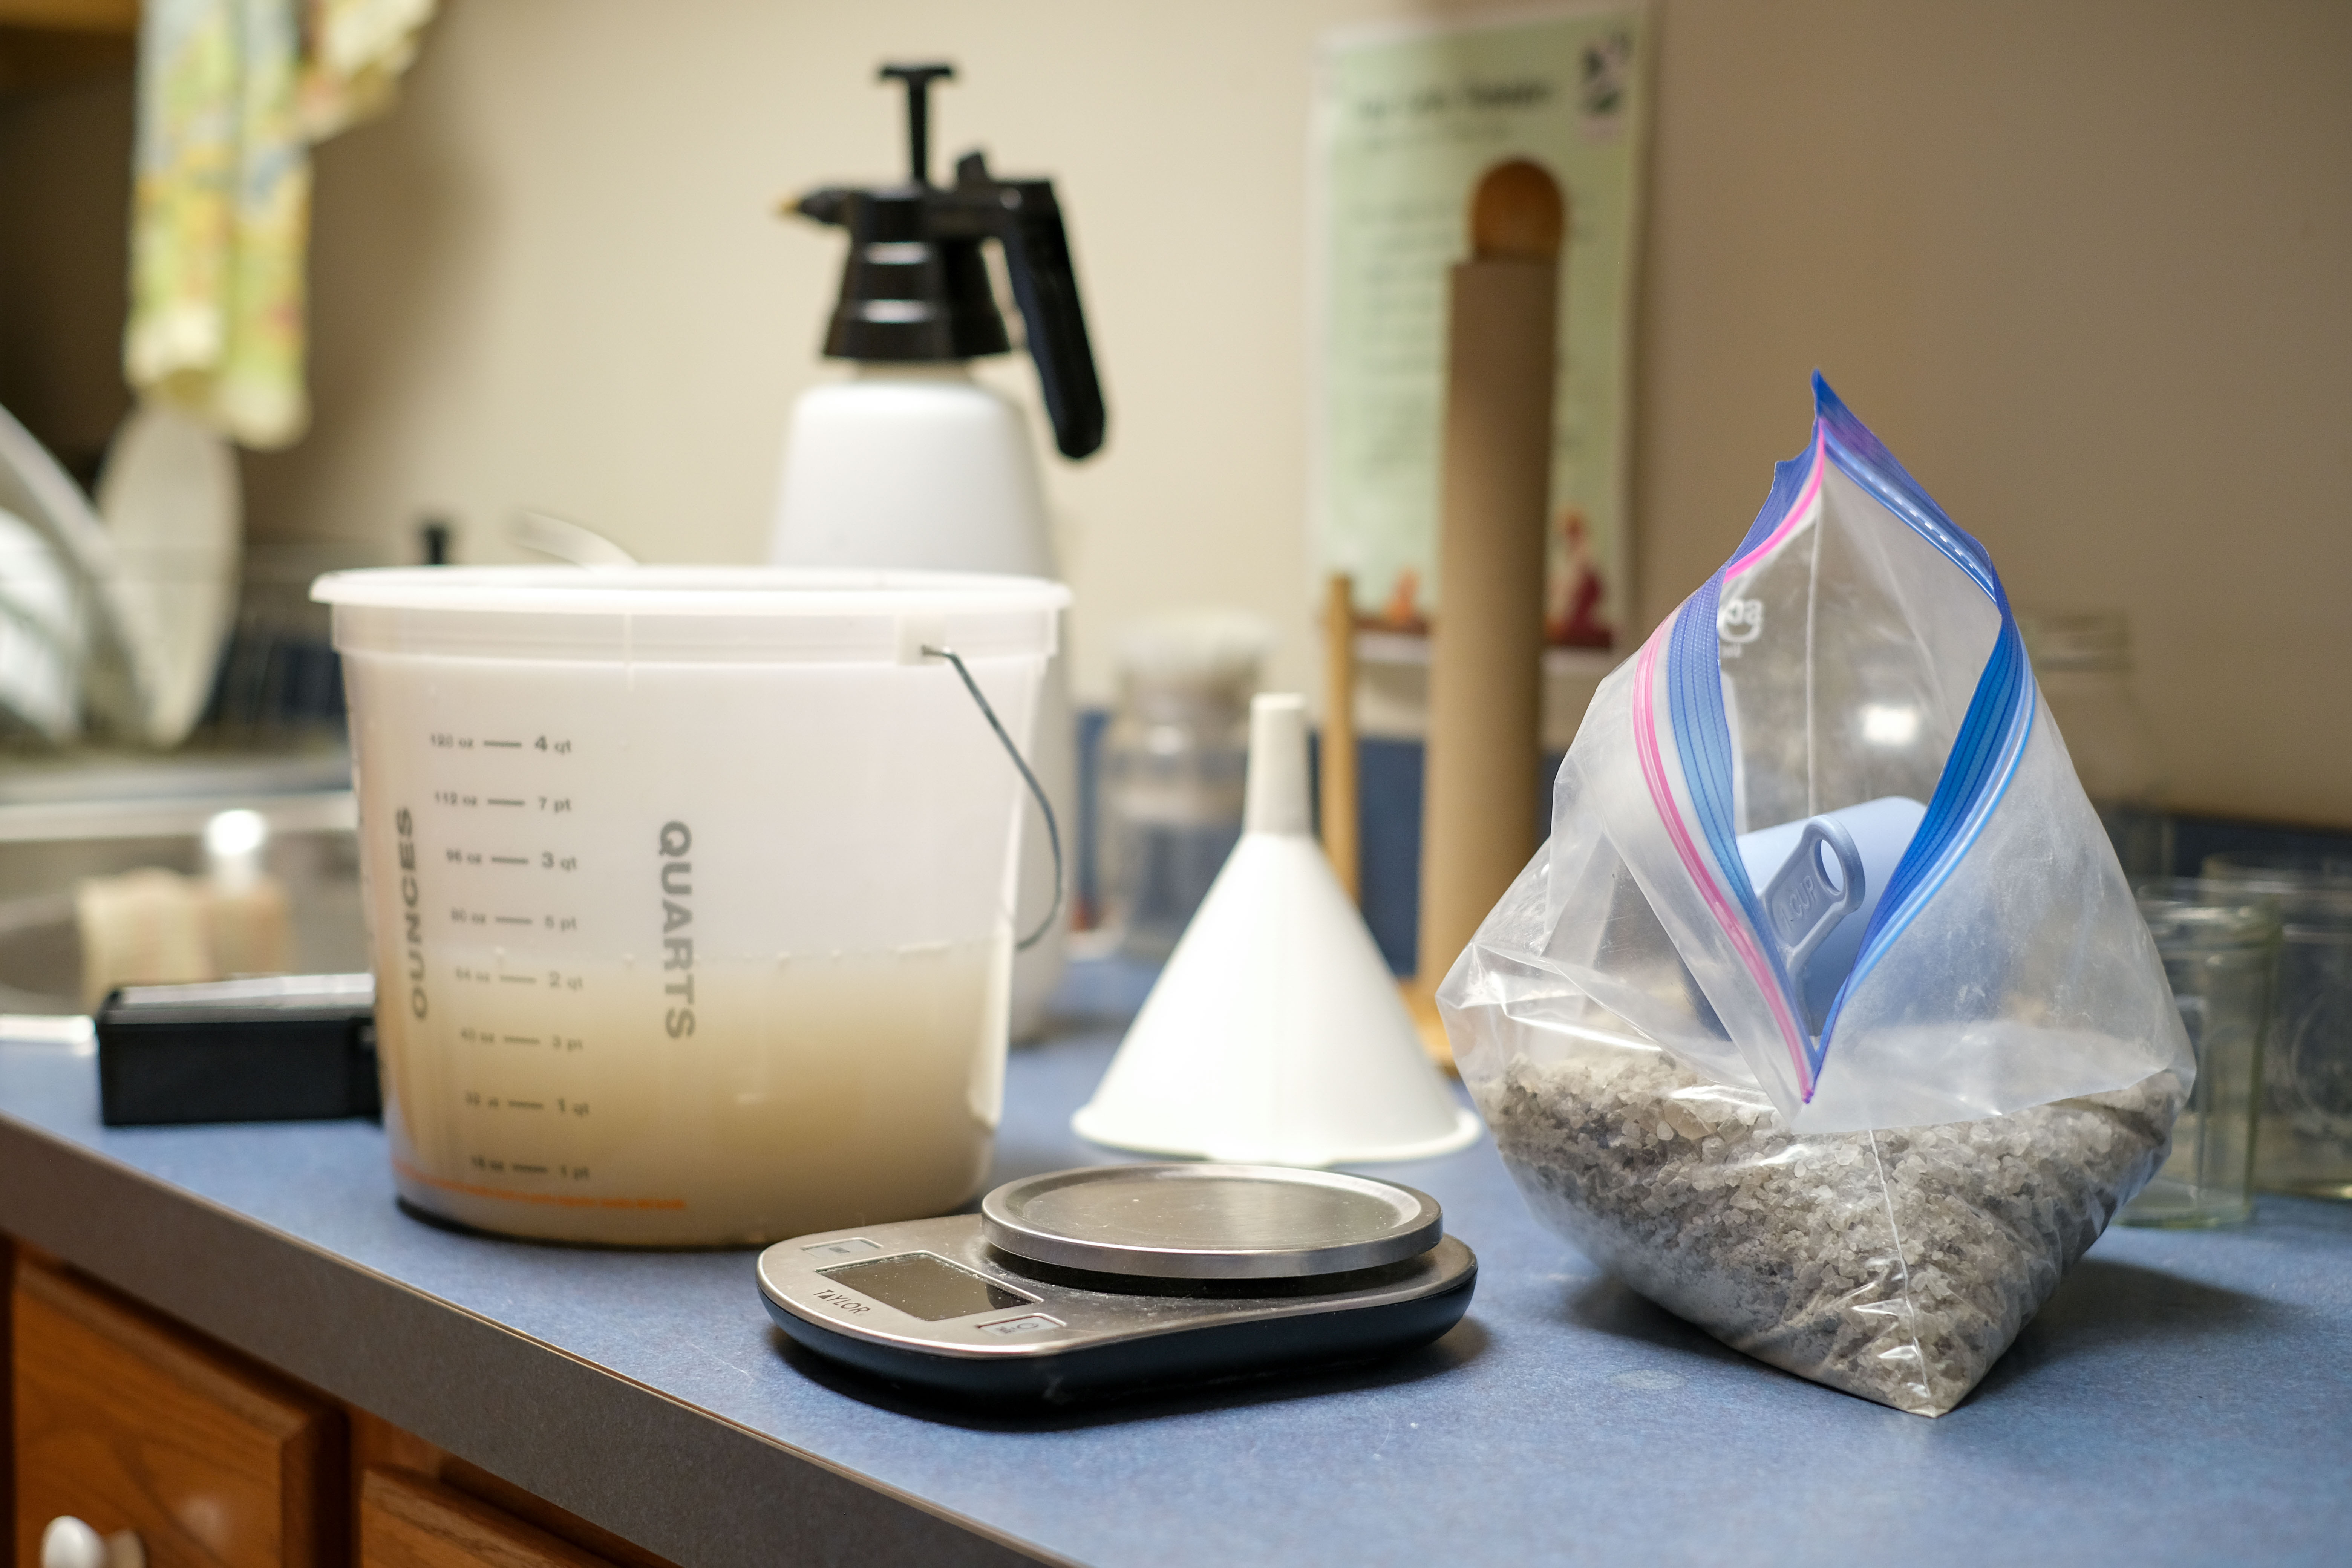
You need a few basic items to make and use salt brine at home: rock salt, measuring cup, bucket, hot water and a pump sprayer. You can use the rock salt you have on hand for use on your sidewalks. Hot water will dissolve salt faster and more completely. A 2-gallon pump sprayer is likely sufficient for most driveways and sidewalks. It is best to just mix what you need. You may also want to restrict the use of this sprayer for just brine.
First, heat the water – start with one or two gallons depending on how much area you need to treat. Next, measure out 35-40 ounces (about 3.5 cups) of rock salt per gallon into your bucket and carefully pour the hot water into the bucket. Mix vigorously until all of the salt is dissolved and let the water cool. Finally, pour the brine into the pump sprayer. If you have excess salt at the bottom of the bucket you may want to use a strainer while pouring the brine into the sprayer so that the chunks don’t clog anything. You are now ready to use the brine on your walkways and driveway.

Application Tips
- Don’t apply brine if rain is forecasted before the snow.
- Use the sprayer to make lines back and forth across the pavement; you don’t need to cover all of the pavement.
- Brine can be applied 24-48 hours before a storm is predicted.
- Agitate or shake the sprayer to keep the salt from settling out – especially if the sprayer has been sitting for a while between storms.
Brine left over at the end of the season can be stored in an old milk jug for next winter. You should rinse your sprayer out at the end of the season and pour the rinse water into the jug with the brine. Don’t dump excess brine or rinse water onto your lawn or down a storm drain or sink drain.

Thanks for Being Salt Smart!
One teaspoon of salt is all it takes to permanently contaminate 5 gallons of water in local rivers and streams. By using brine instead of rock salt, we can significantly cut down on the amount of salt needed to melt snow and ice. Clean water and safe walkways, driveways, and roads are possible thanks to Salt Smart techniques like brine applications.
Learn more about reducing the impact of chlorides at saltsmart.org


